Showing posts with label ombre. Show all posts

Ombre Jewelry Display Stand

0 comments
Borrowing the idea from Weddings and Cookies' Cookie Stand DIY, I made myself a white-to-clear ombre stand for all my bracelets and bangles. (Hopefully you can somewhat see the ombre effect in the mirror!)
 I don't mind the look of the stand being complete white but I think the glass of the candlestick makes it stand out and look a bit more expensive than it is.
You could do all sorts of shapes and sizes, mix and match to store all your rings, nail polishes, lipsticks etc!

 You will need:
Plate; ones with interesting detail turn out well
Candlestick; preferably one with a flat top so it'll be easier to glue

Newspaper
Glossy White Spray Paint
Superglue

 Apply superglue to the top of the candlestick

Wait until the superglue has turned tacky before turning over and gluing to the center of the plate.

 Start spray painting!

To create the ombre effect, just avoid aiming the spray paint directly at the candlestick and loose particles of paint will gather at the top of the candlestick anyway
After that's dried, turn it over and spray paint the the other side.
If you're worried about getting paint on the bottom, wrap it up in newspaper

And you should be left with this!

 
If you're going to use this as a cake stand, you'll want to seal the spray paint with some sort of sealant but if you're using it for non-food purposes, you're done!!

Pink Ombre Jumper

2 comments
 Inspired by my previous post about Gradient Trends, here is my ombre jumper!

 You will need:
Fabric Dye
Container
Spoon
Jumper / Any item of clothing (Beware of the material and check first with the dye instructions to see if the fabric is suitable, the jumper I used was 100% acrylic which was not recommended. whoops!)

 So following the instructions on the packet, I submerged half my jumper into hot water. 
(yes, that is a broken sink!)

I added a spoon of dye into the water.
(I poured all the dye into the container and divided it roughly into thirds; one spoon was a third)

Mix the dye until it dissolved. 

Submerge half the jumper into the dye for approximately 8 minutes

Added another spoon of dye and stirred it until it dissolved completely

Lifted a third of the dyed section out of the water & left it for another 8-10 minutes

Repeated the previous two steps

I rinsed the whole jumper with water until it ran clear then air dried it in the sun.


All done!! A gradient jumper, ready for winter!

Quiet Gradient

0 comments
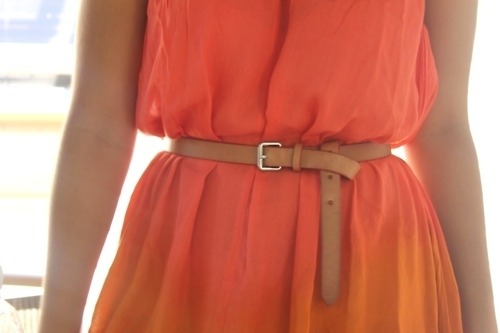
Dip dye and ombre seem like trends that are going to hang around for a while but I've recently been liking a much more subtle and smooth transition between the colours.


From Sara Maia