Sunglasses Chains

0 comments
These are typically seen on nannas but sunglasses chains are actually so practical and are easily DIY-able.
The delicate onyx beaded gold chains on the Mia 2.0 sunglasses are my favourite but Rita Ora looks stylin' in her plain silver chain.

Gold & Onyx chain
The Mia 2.0 | TNEMNODA

Pearl Chain | ASOS

Pearl & Rope "Chain" | Whitney Port

Rita Ora


DIY Whiteboard / To Do List

1 comments
 So this whiteboard frame has actually been on my to-do list for a while now. I've been doing lots of home decor-ish DIYs and we've got another one!

 You will need:
Any old photo frame + the glass
Spray paint / paint 
Whiteboard Markers!! (which I forgot)

I chose black for the spray paint because I've noticed that my room has been getting a bit too white, too sterile for my liking.
I also tried to find a frame that has a bit of detail so it'll catch the light and not look too flat.

 Paint the frame with 1 or 2 even coats and let it dry.

 Then I whipped up my to-do list on word because I'm pathetic at photoshop.
Note the clock; how cute / tacky of me.

Print it out, cut to size, slide it into your frame and you've got yourself a snazzy to-do list that might actually encourage you to get things done!
I would write "buy markers" on my list... if I any to begin with.

I really need to get myself sorted.

Short Room Tour

3 comments
There's a snippet of the finished aspects of my room!

 Left | Cut Lace Vanity Tray | Urban Outfitters

 Right | White Roses | DIY
2nd from Right | Spray-painted Mesh Pencil Tin | DIY

 Astrological Ring Stand | Urban Outfitters

Spinning Ribbon Earring Stand | Urban Outfitters

Necklace Holder | DIY
I just removed the tree bit of my old IKEA Statist jewelry stand and hooked it onto my wardrobe door! 

My column of sticker photos in my wardrobe :)

 The corner above my bedside table

Penguins & Magazines

 Ribba Frames in White | IKEA

 Images from RUSSH & Oyster magazines

Black & White Text Art

1 comments
Something Great | Ian Stevenson

Painting using Black Shoe Polish | Alisa Burke


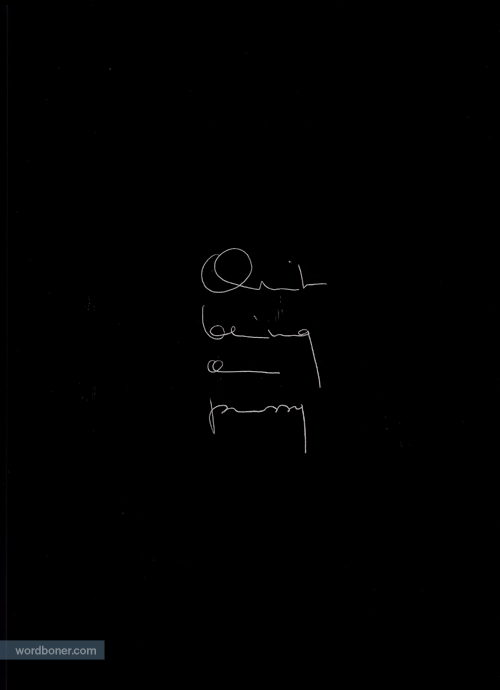
I'm almost finished putting up wall art around my room except I'm stuck for what I want directly above my desk. I think I definitely want it to be black & white but I can't decide if I want a motivational line, quote, extract or lyric etc
 One of my primary school teachers once commented that I "Think Outside The Box" and that phrase has resonated with me ever since so that one is a favourite of mine. I just don't think my parents are too keen about me painting on the walls so I have to find a way to get around that...

Contrast Piping

2 comments
Isabelle Peplum Mini Dress | Forever New

Boyfriend Blazer | ASOS

Rita Racerback Contrast Tank | Forever New


Mini Skirt | ASOS

Simple piping can make any piece stand out, especially if it boldly contrasts, like fluros or black on paler shades. Strategically placed trim can create very flattering panels which is always major plus.
Best of all, is it DIY-able? Yes!

Ombre Jewelry Display Stand

0 comments
Borrowing the idea from Weddings and Cookies' Cookie Stand DIY, I made myself a white-to-clear ombre stand for all my bracelets and bangles. (Hopefully you can somewhat see the ombre effect in the mirror!)
 I don't mind the look of the stand being complete white but I think the glass of the candlestick makes it stand out and look a bit more expensive than it is.
You could do all sorts of shapes and sizes, mix and match to store all your rings, nail polishes, lipsticks etc!

 You will need:
Plate; ones with interesting detail turn out well
Candlestick; preferably one with a flat top so it'll be easier to glue

Newspaper
Glossy White Spray Paint
Superglue

 Apply superglue to the top of the candlestick

Wait until the superglue has turned tacky before turning over and gluing to the center of the plate.

 Start spray painting!

To create the ombre effect, just avoid aiming the spray paint directly at the candlestick and loose particles of paint will gather at the top of the candlestick anyway
After that's dried, turn it over and spray paint the the other side.
If you're worried about getting paint on the bottom, wrap it up in newspaper

And you should be left with this!

 
If you're going to use this as a cake stand, you'll want to seal the spray paint with some sort of sealant but if you're using it for non-food purposes, you're done!!

Tribal & Silver

0 comments
 Necklaces | Sportsgirl

 Rings | Vintage

Bangles | Myer

Good things apparently come in pairs.

Ballet Pointe Flats

1 comments
In addition to the Chloe & Monki shoes from my En Pointe post, I've seen more and more flats inspired by actual ballet pointe shoes like these from Urban Outfitters. So finally here's my DIY version!

You will need:
Ballet Flats - $20
Matching Thread
Needle
4 x 50cm Ribbon
Candle / Lighter; any sort of flame

I got my flats from Rubi Shoes which I recommend for this DIY because they have the loop at the heel & the elastic trim around the shoe which makes this DIY a lot easier. 
*The ribbon should be thin enough to fit through the loop and the thread should match the elastic trim.

Firstly, light a candle and slowly bring the each ribbon end close to the open flame. The edge will start to melt so you'll need to move the ribbon back and forth to seal it. Altogether you'll need to seal all 8 edges and make sure all the ends are cool and no longer tacky before you touch them.


Try on the flat and carefully pin the ribbon to where the top of the arch of your foot meets the shoe (or alternatively just pin the ribbon to the middle of the elastic trim).
Also you'll need to thread the needle.

 Leaving the pin in the ribbon, start sewing the ribbon onto the elastic trim from the inside, in a cross pattern. 

Once it's secure enough, slide the needle off and tie the loose ends of the thread.
By leaving the pin in, the stitches will be loose enough to allow the elastic to stretch when you wear it.

This is what it'll look like on the outside, the thread will be hardly noticeable from afar.

Repeat all the steps on the opposite side of the flats, making sure that they match. If you're in doubt of where to sew the ribbon, pin it and try it on first.

And repeat all the above steps with the other shoe!

Lastly, thread the ribbons through the loop, making sure that the ribbons go through without twisting.

 And there you have it!